CNC Optical Machining — Where Precision Meets Practical Work
When people talk about CNC optical machining, they often imagine something complicated.
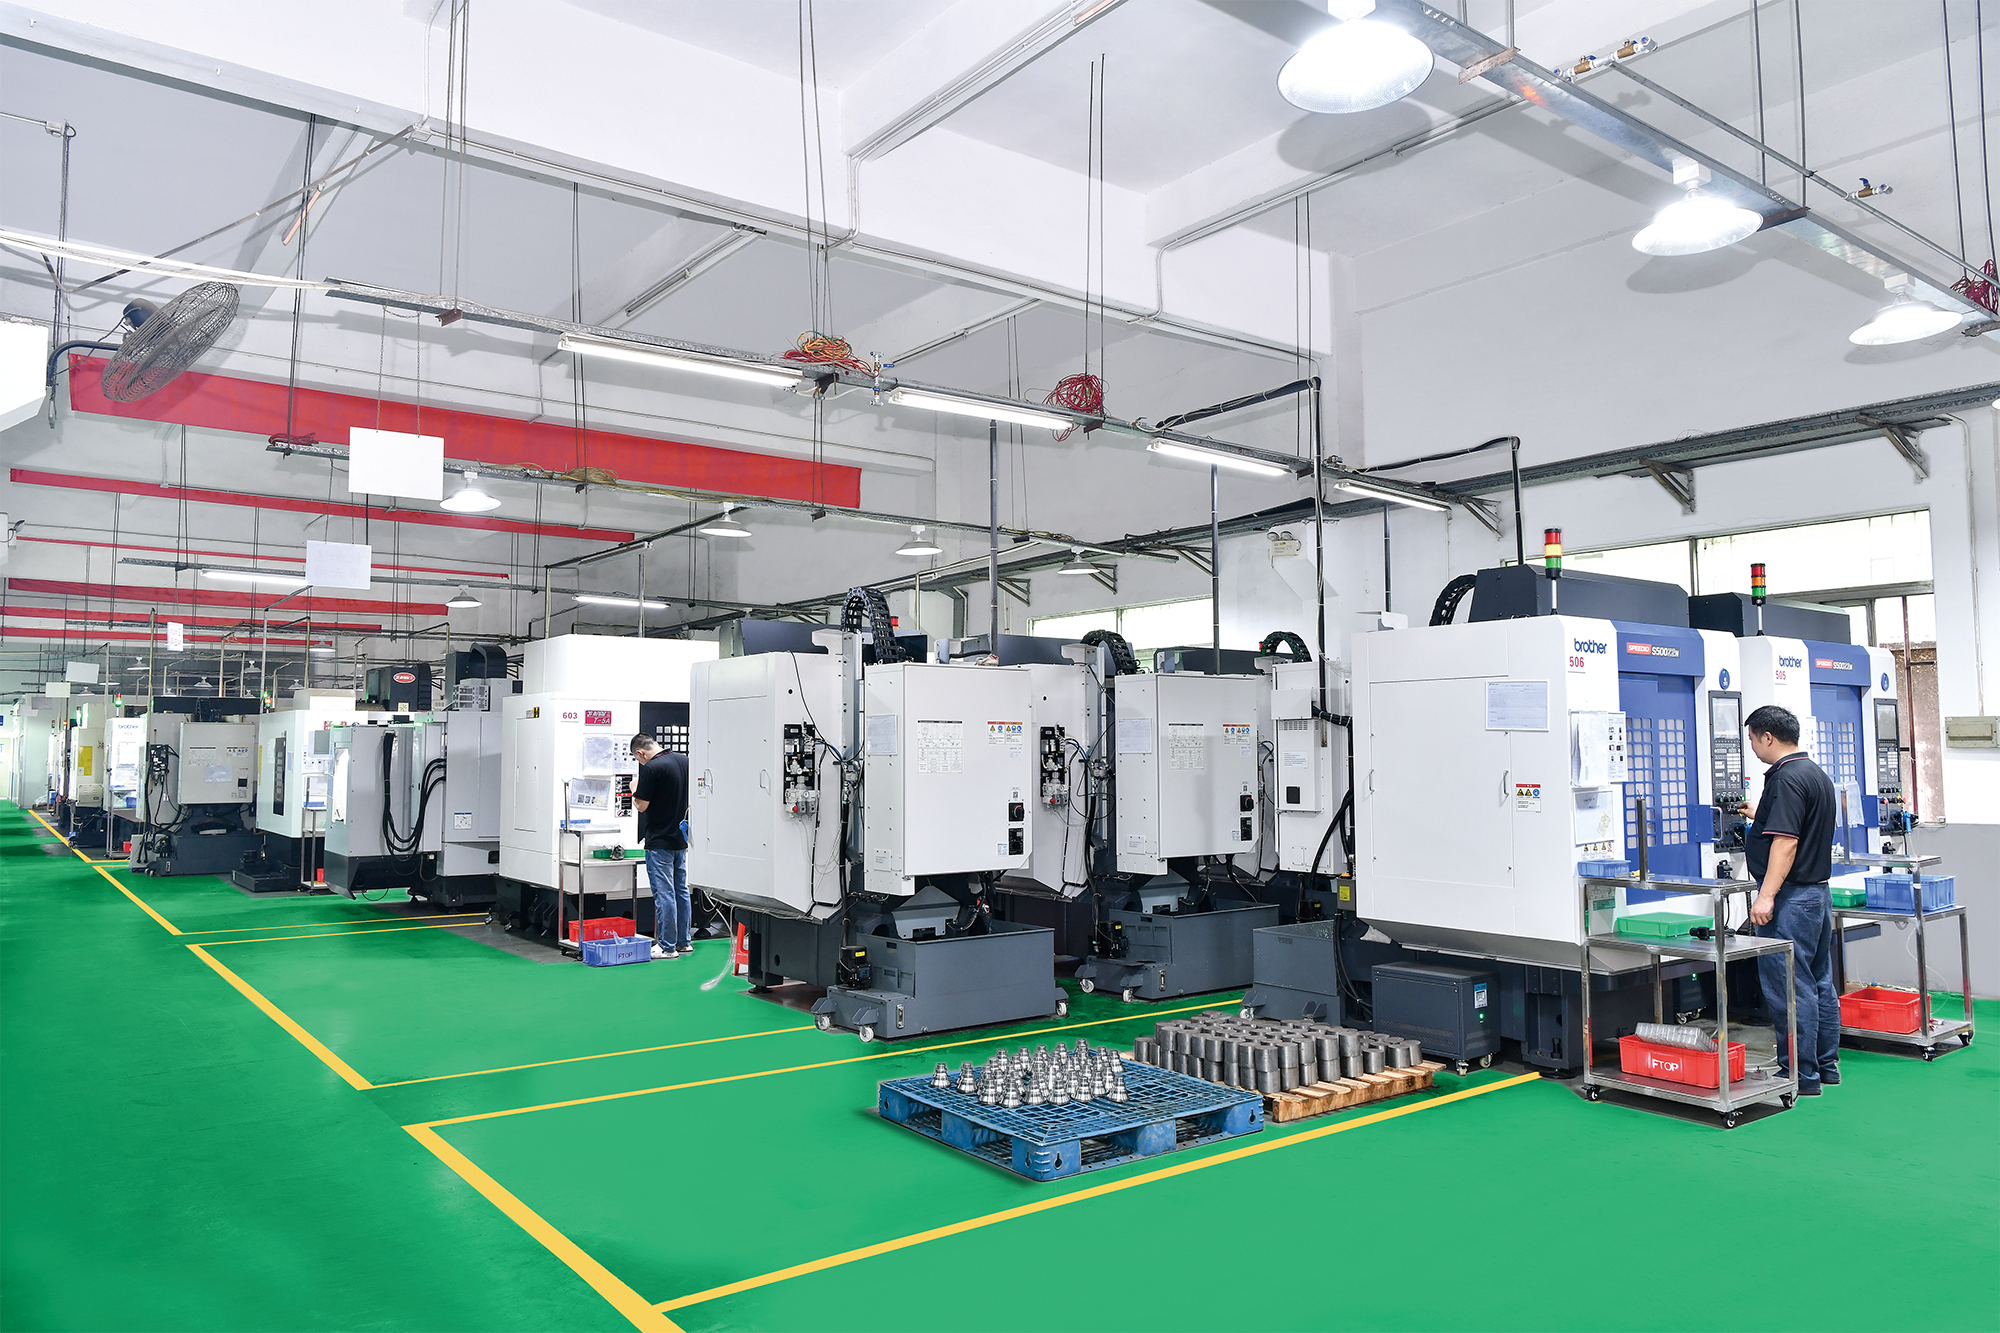
But in our workshop, it’s actually quite straightforward — it’s about making optical housings, lens barrels, and small mechanical parts that fit perfectly and perform reliably.

Most of the optical components we make start from aluminum 6061 or 7075, sometimes stainless steel 303 / 304 / 316, and for a few high-end projects, titanium.
These materials are stable, easy to machine, and can maintain precision even under temperature changes — something that really matters when these parts are used in laser modules, cameras, or optical instruments.
From Raw Block to Finished Barrel
Take a simple optical lens barrel as an example.
We start with an aluminum bar about 30–80 mm in diameter, clamp it in a 5-axis CNC machine, and rough-cut it into shape.
Then comes fine machining — the inner bore tolerance usually stays within ±0.01 mm, and the thread fit with the lens retainer must be smooth but not loose.
After that, we’ll add chamfers and threads, sometimes M17×0.5 or M25×1.0, depending on the lens design.

When the machining is done, we do anodizing — mostly black matte finish to avoid internal reflection.
Sometimes customers request Ra ≤ 0.8 μm surface roughness inside the barrel to reduce light scattering.
These small details matter more than most people realize; they’re what make an optical system stable and consistent.
Machining Challenges We Often Face
Optical housings look simple, but they’re not easy to make right.
-
Thin walls (sometimes only 0.8–1.0 mm) can easily deform during clamping.
-
Some designs have deep internal bores over 60 mm, where tool vibration and chip removal become tricky.
-
The coaxiality between the lens seat and external threads often needs to stay within 0.01–0.02 mm — and that’s only possible when the fixture and cutting path are optimized carefully.
These are the small things that don’t make headlines but decide whether the part actually works in the end.

Assembly and Inspection
After machining and anodizing, we assemble the mechanical parts with lens holders, screws, or retaining rings.
Every part is checked on a CMM (Coordinate Measuring Machine) and sometimes we use a runout gauge to make sure the optical axis stays true.
We don’t talk much about “innovation” — what we care about is whether the next piece can match the previous one exactly.
A Few Real Specs
For people who like numbers:
-
Material: Aluminum 6061-T6, 7075-T6, Stainless Steel 303 / 316, Titanium Grade 5
-
Tolerance: ±0.005–0.02 mm depending on part geometry
-
Surface finish: Ra 0.2–0.8 μm (polished inner bore), anodized matte black
-
Thread types: M12×0.5, M25×1.0, M42×1.0 — common for lens holders and filter rings
-
Wall thickness: as low as 0.8 mm
-
Quantity: from prototype 1–2 pcs to 500 pcs per batch
Why It Matters
Good machining doesn’t just make parts that “fit”; it makes parts that stay aligned after years of use.
That’s the quiet kind of precision we aim for — not just to show tolerance numbers, but to make sure a lens or sensor mounted inside still performs like day one.
Share:
What Are the Differences Between Low-Pressure and High-Pressure Die Casting?
Inside Laser Optics Assembly: How ±0.005 mm Machining Keeps Your Laser on Target